Step 1
Click here to buy or rent Local Trade Copier.
Step 2
You will download a file that will look like this or something similar (depends on the license that you choose).
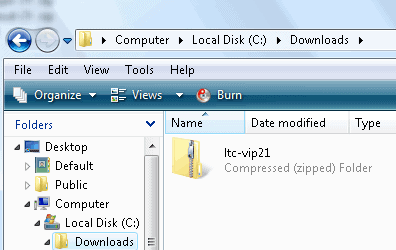
Now go inside the zipped folder and find the installation file for the Server EA and the Client EA. A detailed instruction manual is included with the software as well. You will find a lot more detailed information about the Local Trade Copier in the manual, including explanation of each of the EA’s settings and features.
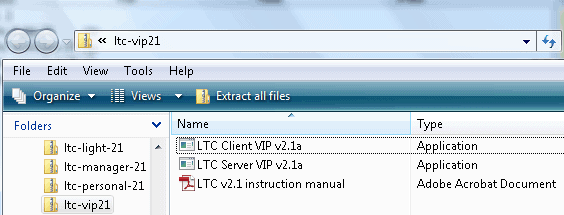
First install the LTC Server EA and then continue with the LTC Client EA installation.
Please note that at this stage your MetaTrader 4 platforms should already be installed. If you haven’t done this yet, please go back and complete the steps outlined in chapter 3.
Step 3
The installation for the Server EA and the Client EA is very similar so I will explain this process in a single chapter. To install the Server EA you need to run the LTC Server VIP file and to install the Client EA you need to run the LTC Client VIP file. The exact file name will depend on the license you have purchased and it may be Personal, Manager or VIP.
Once you execute the file an installation wizard will start. You will need to follow the instructions presented on the screen. The first task the installation wizard will perform is to scan your Program Files folder for any MetaTrader 4 installation folders.
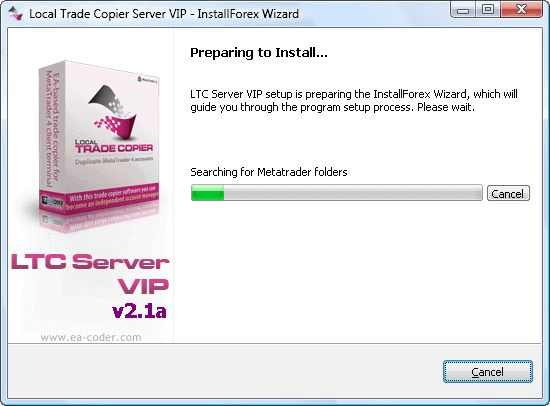
When the scanning is complete you need to click NEXT in order to proceed to the next step.
Step 4
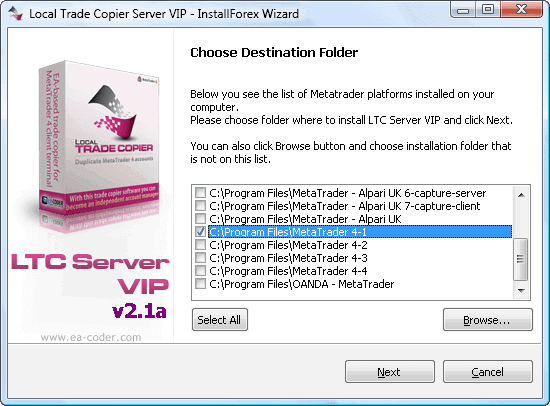
Choose the destination folder where you want to install the Server EA or Client EA. In this example we will install the Server EA to the first MT4 folder which was named MetaTrader 4-1.
When installing the Client EA we will choose one of the other three MT4 folders.
Click NEXT to proceed to the next step.
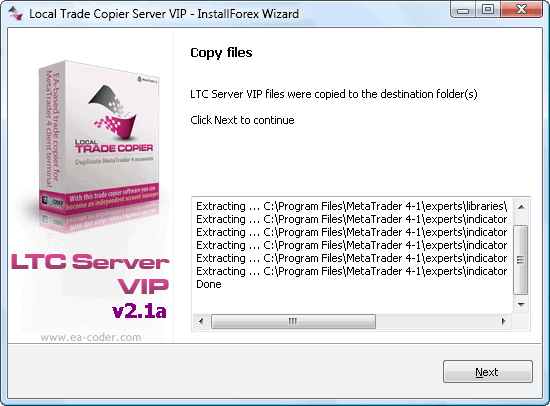
Step 5
The installation wizard will now extract the files to the folder of your choice and print a message “Done” once the installation is complete. You can now proceed to the next step by clicking the NEXT button.
Step 6
This is the last step of the installation wizard. If you want the MT4 platform to be opened automatically after the installation leave the “Run Metatrader” box checked before you click the FINISH button.
Note: If you have multiple installation folders selected, the “Run Metatrader” box will not appear. A list of installation folders will appear instead. In this case you need to click FINISH and then start the MetaTrader 4 platform manually.

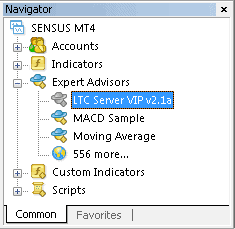
Step 7
When the MT4 platform loads you will find the LTC Server EA or the LTC Client EA application in the Navigator window on the left side.
The MT4 platform (s) where the Server EA was installed will act as a master account(s) in your trade copying campaign and the MT4 platform(s) where the Client EA was installed will act as a slave account(s).

Step 8
Now make sure that the EURUSD chart is open.
To run the Server EA or the Client EA simply click on the EA in the Navigator window, then drag and drop it to the EURUSD chart. You may use any chart, but it is best practice to use a chart of the EURUSD currency pair. Make sure that you do not attach any other EA’s or indicators on the same chart in order to avoid any unexpected conflicting behaviour.
Step 9
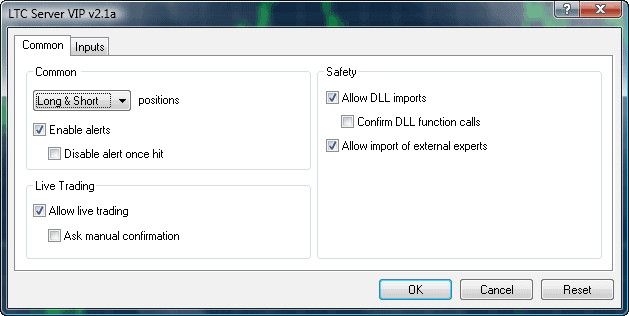
When you run the Server EA or the Client EA you will get a window like the one shown on the picture below. This is called the “EA properties” window. Go to the “Common” tab and make sure that the following boxes are checked or unchecked as shown in the image below. These settings are the same for the Server EA and the Client EA.
Allow live trading – CHECKED
Ask manual confirmation – NOT CHECKED
Allow DLL imports – CHECKED
Confirm DLL function calls – NOT CHECKED
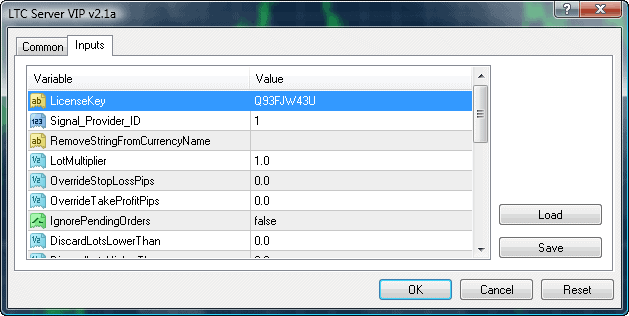
Step 10
Now switch to the “Inputs” tab. These settings are also called “EA Inputs” and this is where you will control how your EA operates. I’ve made it easy for you and you don’t need to perform any fancy operations here, you can just start your Server EA or Client EA with the default settings.
The only thing you will need to input is the license key. When you copy/paste the license key please make sure that there are no spaces at the beginning or at the end of the key. Also please double check that you have entered the correct license key.
When you’re done fixing the settings in the EA inputs tab click the OK button to run the EA.
Step 11
As you start the EA the first thing you will see is a message saying “Validating license. Please wait…” in the top left corner of the chart. This usually lasts for only a second.
![]()
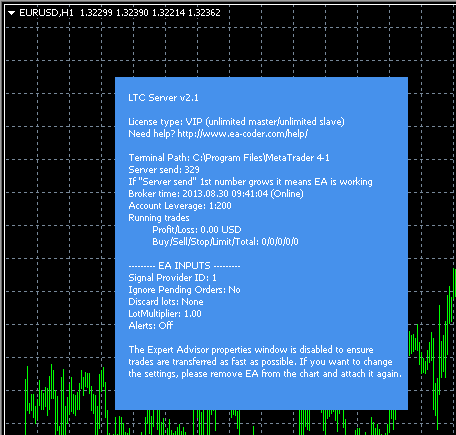
Then you should see a blue EA dashboard with various information like the one shown on the picture below.
For the Server EA it’s important that the “Server send” counter is increasing. This means that the EA is working and that it will send trading signals to the slave account(s).
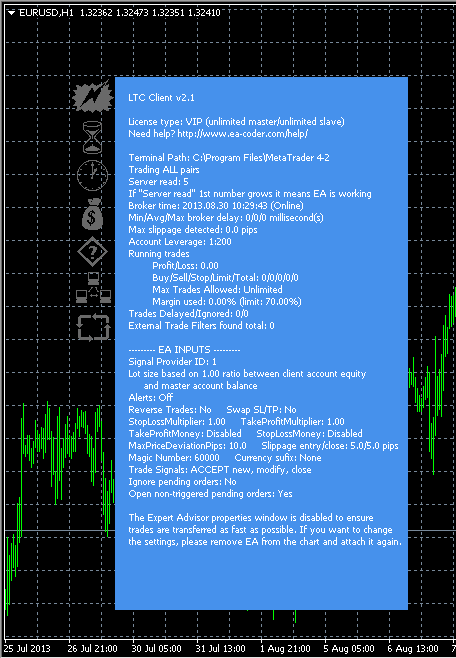
For the Client EA it’s important that the “Server read” counter is increasing. This means that the EA is working and that it will receive trading signals from the master account(s).
This counter is also called heartbeat and it should occur once every 400 milliseconds by default. In the picture below you can see the EA dashboard of the Server EA.
The Client EA dashboard is presented on the picture below.
Please note that the Server EA and Client EA properties windows are disabled at this stage in order to ensure that trades are transferred as fast as possible. If you want to change this setting, please remove the EA from the chart and then attach it again. This will allow you to set new settings. Previously used settings are not available in the EA Inputs by default, but you can always save and load the settings by using the LOAD and SAVE buttons on the right side of the EA Inputs window.
The EA will also save the last used settings into a file on each start-up. You can load that settings file at a later date. The files are stored in the \MT4-folder\experts\files\
In order to install other Server or Client EAs you need to repeat steps 1 through 9 for each master and slave account configuration.
Now that the Server EA and the Client EA are both live and running let’s copy some trades.
Are you ready to copy trades now? Sure you are!